

In this article, you will learn how to change nameservers in hostinger. With the help of you this, you can move your website to another hosting provider while still keeping your domain name.
How to Pointing a Domain to a Host
If you have only moved your website to the other hosting provider. However, your domain name stayed with the old hosting provider, and the visitors are not direct to your website. you can get here how to change nameservers in hostinger.
This is a problem because your domain is not connected to the new hosting. You have some ways to solve this issue
You can transfer the domain to the new hosting provider
The other option is that you can update the A records of the domain’s DNS of the new IP address. If your IP address changes, your website will stop working until your A record is updated. We do not recommend doing this method
One last method we say changing the domain’s nameservers. This is the most recommended option Without registering you can transfer your domain’s DNS control to a new hosting provider.
How to Change Nameservers in Hostinger
Keeping all the things in mind, we are going to tell you how to change the DNS of the domain. We will quote it from the domain purchased from the hosting. You can also use these steps on other hosting providers.
1. Get the New Nameserver (DNS) Values
First of all, search for the nameserver of the new hosting provider. You will find this information on the documentation page of the company that you will receive an email after purchasing the hosting or you can also find information in the Cpanel of the hosting.
If you still do not get this information, then contact your hosting provider.
At Hostinger, you can find all DNS (nameserver) related information in
Hosting -> Accounts -> Details.
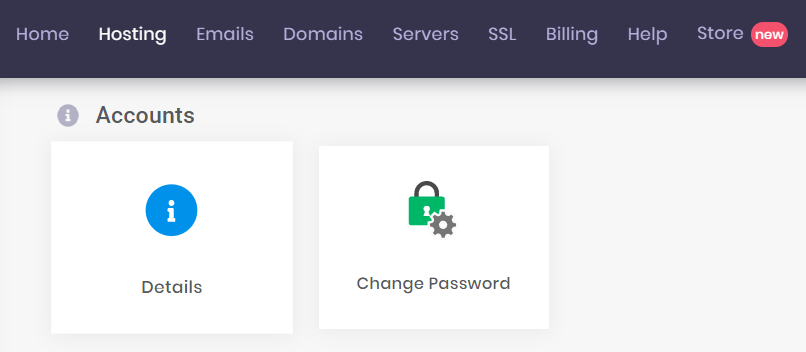
The list of nameservers like this
ns1.dns-parking.com
ns2.dns-parking.com

2. Apply the New Nameservers (DNS)
The next step is to replace the new domain nameserver with the old domain nameserver. How to do it, follow the below steps:
- Login to your domain name registrar.
- Select your domain after login
- Find the Domain Nameserver Options. Every registrar has different methods. In the hostinger, you can find the menu called Domains, Domain Manager.

- Search a section that is Update Nameservers. You can see a few fields, such as Nameserver #1 (primary nameserver), Nameserver #2 (secondary nameserver), and maybe even more.

- Enter the nameservers into the fields. A nameserver that begins with ns1 should be put into Nameserver #1 field, ns2 to Nameserver #2, and so on.
If your hosting provider gives you only two nameservers, then enter the first two fields.
3. Wait for DNS Updation
Once the nameservers are set, you would like to attend for the changes to require effect. The process typically takes a couple of hours, but it also can last up to 2 days. You might want to flush your DNS cache to hurry up the method.
Now you try it by yourself.